Auto-publish third party updates to WSUS
The Auto-Publishing of Third Party Updates to WSUS action displays in the Actions menu when you expand Administration and Reporting > Software Publishing and select a software package. This action allows you to automatically publish non-Microsoft updates to the WSUS server based on a daily, weekly, or monthly schedule.
When the task is completed, you can enable the task to export the results to a supported file format and email the file to one or more recipients.
-
In the navigation pane, expand Administration and Reporting and select Software Publishing.
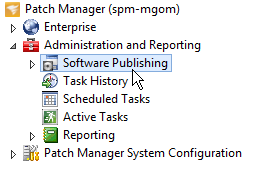
- In the Actions pane, click Auto-Publishing of 3rd Party Updates to WSUS.
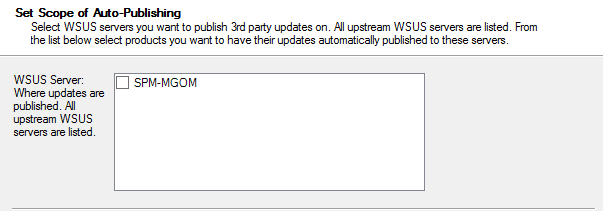
- Select the WSUS servers that will host the third party updates.
- Select the products you want to publish to the WSUS server, and click Next.
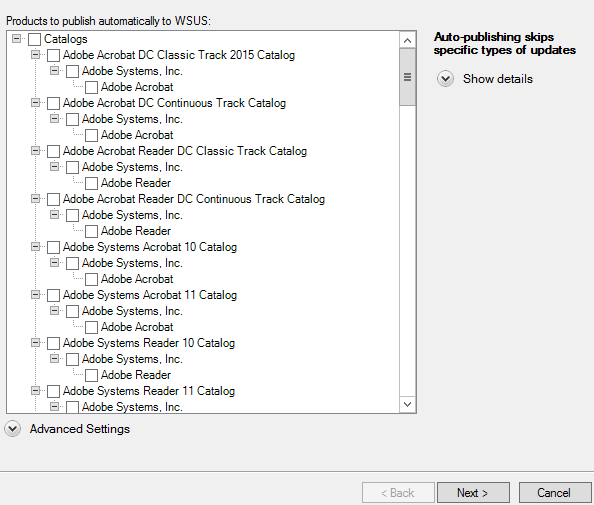
For safety reasons, license conditions, and efficiency, auto-publishing skips driver-based packages and updates without a direct link to an executable file, marked as metadata only, marked as expired, and created by a user.
- Click Next.
Patch Manager verifies the WSUS server. -
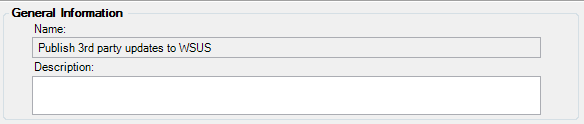
Enter a task name and description.
- Select the auto-publishing schedule options.
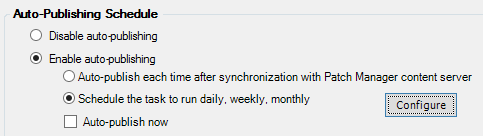
To disable this option, select Disable auto-publishing and go to the next step.
To enable auto publishing and publish now, select Auto-publish now and go to the next step.
To enable auto publishing and set up a schedule:
- Select Schedule the task to run daily, weekly, monthly and click Configure.
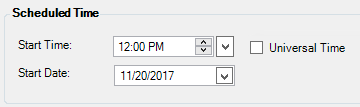
In the Scheduled Time panel, enter a start time and date.
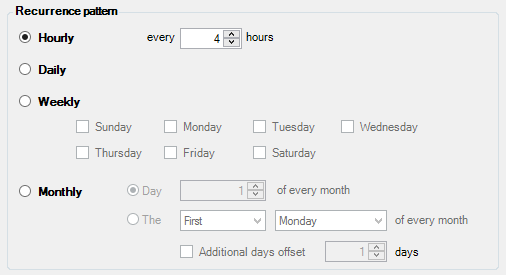
In Recurrence Pattern, select an hourly, daily, weekly, or monthly value.
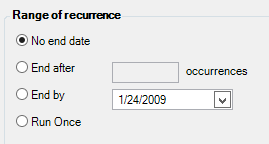
In Range of recurrence, select whether you want the task to continue without end or end at a specific time.
- Click OK.
- Choose whether to export the task results to a file (such as a Microsoft® Excel®, XML, or CSV file).

- Choose whether to culminate the task results into an output file (such as Microsoft Excel) and send the file to one or more recipients. Click Configure to set up the notifications and file format.

-
Click Next.
- Review the information in the Task Summary window, and click Finish.
Update the scheduled auto-publish task
Repeat the steps in the previous section to update your task settings.
Delete the scheduled auto-publish task
- Expand Administration and Reporting and select Scheduled Tasks.
- In the center pane, select the task you want to delete.
- In the Actions pane, click Delete.